Move an asset
If you place an asset in the wrong location or just want to move it to a more appropriate location you can follow these steps.
Create location link
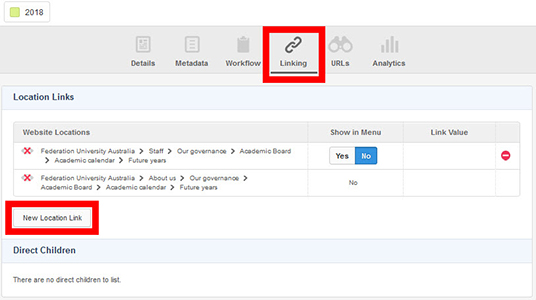
- Navigate to the asset to edit
- From the ‘Linking’ screen, click on ‘New Location Link’.
- In the ‘Asset Finder’, highlight the location where you want to move the asset to. Click ‘Select’.
For example, below, I want to move the image asset into the images folder.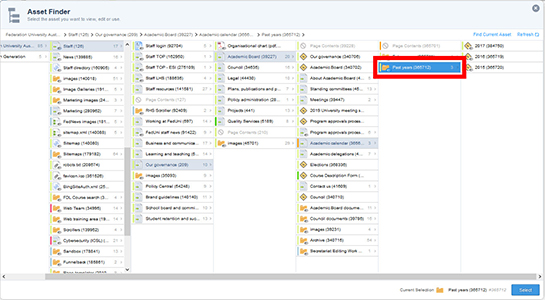
Remove previous location link
- There will now be two location links for the asset. Ensure to select ‘No’ if you don’t want this asset to ‘Show in Menu’.
- You will need to remove the old location link by clicking on the red ‘–‘ (minus) button. As a result, the symbol changes to ‘+’, the asset displays pink and indicates that the previous location link will be deleted.
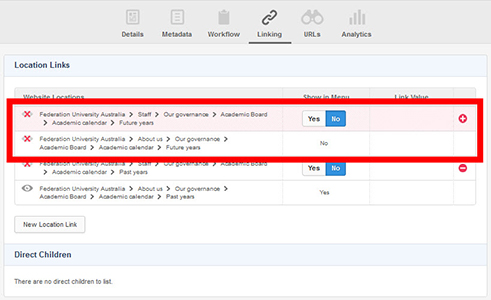
- A ‘Warning’ message will be displayed that deleting the asset may cause broken links, etc. The location link selected for deletion will also be highlighted with a red background (as below).
- Click ‘Save’.
Note: You will be redirected to the next highest level asset.
Confirm asset moved
- To confirm the asset has been moved, open the ‘Linking’ screen of the moved asset which will confirm the new location.
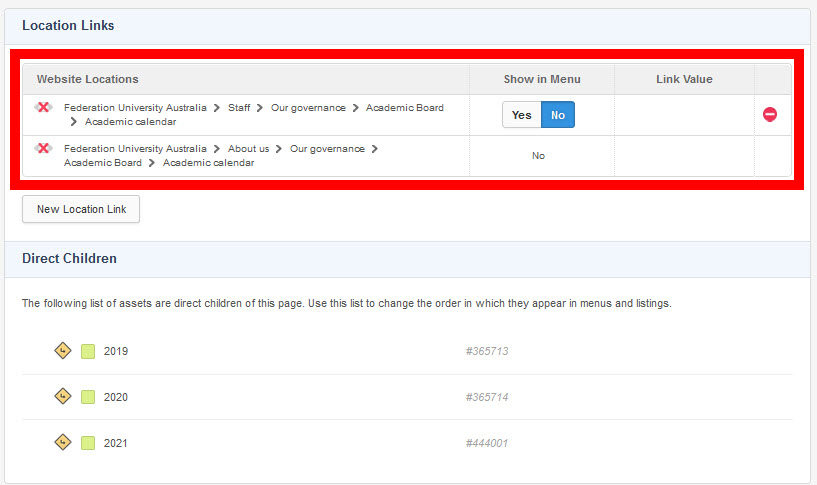
Note: You can also check the location of where the asset was located and where it is now located, to confirm that the asset has been moved.
For example, checking the images folder in the ‘Asset Finder’ now contains the image asset that I moved and the image is no longer located under the ‘Example Page’. If the change does not display straight away, click 'Refresh Assets'.