Insert an image
These instructions assume you are in the Contents screen (in Safe Edit mode) of the page where you want to insert the image.
Images should be resized and optimised for web publishing BEFORE being added to them to the CMS.
Do not use the ‘Size’ properties in Edit + (Plus) to resize your image.
Follow the resizing images tutorial to learn how to resize and optimise your image(s).
 In the ‘WYSIWYG’ screen, place your cursor where you want the image to appear
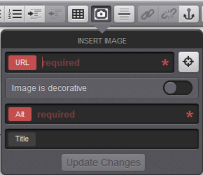
- In the ‘WYSIWYG’ menu click on the ‘Toggle Image Options’ icon
- In the ‘Toggle Image Options’ dialogue box
- Click on the ‘Pick Asset’ cross-hairs button to open the ‘Asset Finder’.
- Navigate through the ‘Asset Finder’ until you find the image that you want to add.
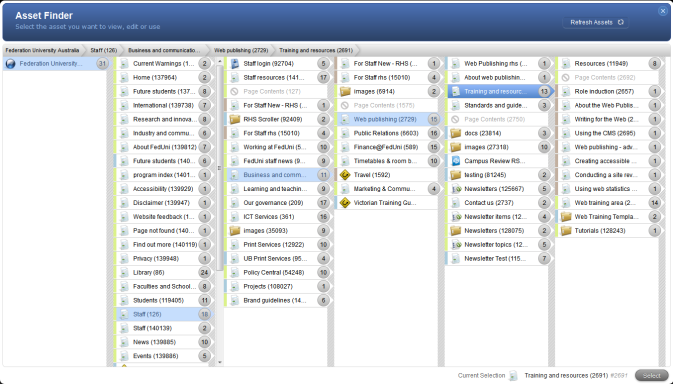
- When you find the image:
- Ensure you have clicked on the image in the Asset list (highlight colour will be dark blue)
- Click the ‘Select’ button
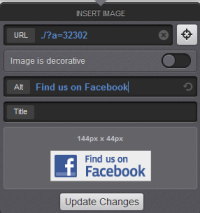 The asset ID will automatically populate in the ‘URL’ field. You will also be able to see the size details with a preview of the image.
- Enter ‘Alt’ text which will display if the image cannot be seen. This is a required field for all non-decorative images.
- Select ‘Update Changes’
- Select ‘Save’