Update an asset
Step 1 – Upload the new file
- Navigate to the URL and add ‘_edit’ to the end of the URL which will then prompt you to log into Edit + (Plus) using your FedUni login details.
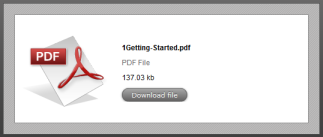
Note: If you click on the ‘download file’ button it will download the document for you to view, but you will not be able to edit it. - Once logged in, if you open ‘Preview’ mode on the relevant document link. You will see an image like this:

- To edit the asset, you will need to click on the ‘Edit’ button from the menu for the document asset.
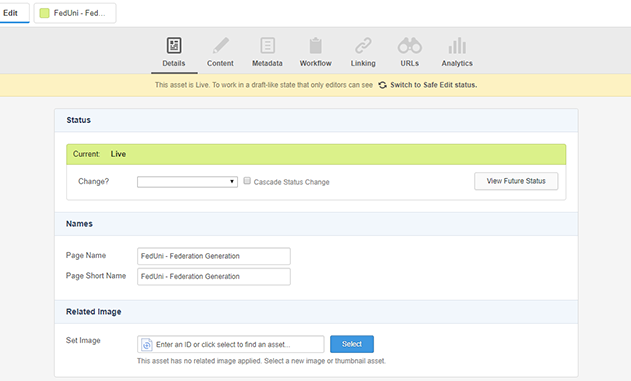
- You will now be able to see the asset details and menu options (see below)
- To edit the asset, you MUST change the asset status to ‘Safe Editing’. To do this you can either
- Click on the ‘Initiate safe edit’ button at the top of the page contents; OR
- Under the ‘Change?’ drop down options, select ‘Safe edit’
- The status will now be ‘Safe Editing’ (Pink)
To upload the new version of the file, click the ‘Browse…’ button in the ‘Upload’ section and navigate to where the new file is stored.
- Once you have selected the file, click the ‘Save’ button.
- Once you have saved all the changes, you need to make those changes ‘Live’
Step 2 – Make your changes live
Because you are logged into the system, you can see the changes you have made when you look at the website, BUT these changes won’t be visible to the rest of the world.
To see what others see, open a different browser (eg. If you have been editing in IE, then open Firefox, and vice versa) and go to the page you have been editing (do not type /_edit).
You can view your asset’s status from the Details screen. It will be in ‘Safe Editing’ mode (Pink) and you need to change it to ‘Live’ (Green).

To make an asset live:
 From the ‘Details’ screen, under the ‘Change?’ drop down options, select ‘Approve’ then click ‘Save’. The status is now ‘Safe Edit Approved To Go Live’ (Orange)
 From the ‘Details’ screen, under the ‘Change?’ drop down options, select ‘Make Live’ then click ‘Save’. This will then change the status to ‘Live’ (Green)


