Create a redirect page asset
A redirect page automatically directs the user to a set URL or asset.
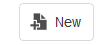
- While in edit mode, select the ‘New’ button
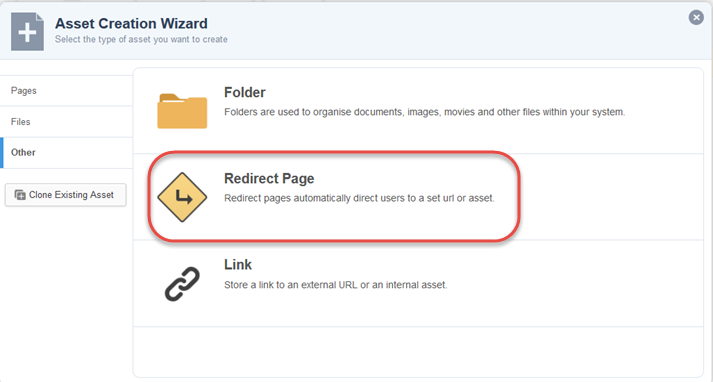
- Select ‘Other’ > ‘Redirect Page’
- In the New Asset Wizard:
- ‘Enter a name’ for the redirect page: This will appear in the menu or the inline box, if selected. It should describe what the site visitor will be presented with. If you are directing site visitors to a document the redirect page name should include the file type and size. E.g, Course Description Form (docx, 158kb)
- ‘Show in Menu?’: If you want this page to appear as a link in the left-hand menu then select ‘Yes’.
- ‘Create Locations’: Select the ‘Select New Location’ button. This is the page that your new redirect page will appear directly under. Navigate in the ‘Asset Finder’ to the parent and click the ‘Select’ button.
(Alternatively, if you have already navigated to the required location, you can click the ‘Select Current Asset’ button and click the ‘Select’ button) - Click the ‘Create’ button then the ‘Edit’ button
- Go to the ‘Metadata’ screen and fill in:
- ‘Keywords’ – these are the words that the FedUni search and Google, etc use to find your pages, so include words people who are looking for your content would use.
- ‘Description’ – this is the blurb that will display within search results such as Google, so make sure it makes sense and is relevant.
- ‘showinline’ – use ‘Yes’ if you want the redirect page to display as an inline box on its parent page.
- Select ‘Save’
- Go to the ‘Details’ screen.
Under 'Redirect Options' add either the URL (if redirect location is outside the FedUni website) or the asset ID (if redirect location is within CMS) you want the user to be directed to.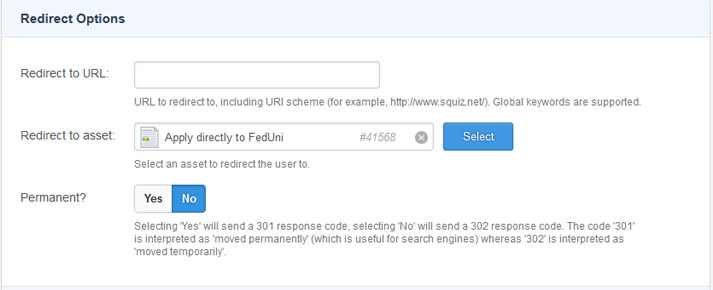
Under 'Status' use the drop-down menu to change the status of the asset to:- If you are an approver: ‘Approve’ then ‘Make Live’.
- If you are a publisher: ‘Apply for Approval’ to put into workflow.
- Select 'Save'.